


This tutorial describes the procedure for Microsoft Windows XP. The procedure for other versions of Windows (eg. 98, 2000, Vista, etc.) should be almost identical. Users of other operating systems (Linux, Mac, Solaris, etc.) should refer to the installation instructions given on the OpenOffice.org website here.
Our tutorials are designed to provide simple step-by-step instructions, with the minimum of extra information. In some steps it is necessary to include important information (shown in italicized text like this), to assist our users in completing the installation process a smoothly as possible.
At the end of the tutorial you will find additional notes that are not critical to successfully completing the installation process, but may be of some assistance or interest to our users. Where these notes relate to a specific step in the tutorial, a link (shown like this) appears next to the step.
We suggest that you print these pages, so that you can follow the step-by-step instructions. (Click File -> Print -> OK)
It is not necessary to uninstall or remove earlier versions of OpenOffice.org, before installing the current version. However, it is important to follow the instructions given in step 5 of this tutorial.
When you install version 2.4.1 it will upgrade previous series 2 versions and all your personal settings from the earlier version will be automatically transferred.
Installing version 2.4.1 will not upgrade previous series 1 versions and your personal settings will not be transferred. The earlier version will be unchanged and you will still be able to use it.
In either case, all files you created with any earlier version will still be available and can be opened and saved using version 2.4.1
Downloading will take many hours on a 56k dial-up connection. A number of factors can affect the amount time the download will take (eg. busy servers). If you have a dial-up, limited or slow connection, you should consider purchasing OpenOffice.org a CD. A list of suggested suppliers can be found on the OpenOffice.org website here.
If you are not the "Administrator"; of your Windows computer, now would be a good time to log-out and log back in with Administrator privileges.
First, connect to the Internet and start your web browser (eg. Firefox, Opera, Internet Explorer). When the web browser window opens, replace the http:// address that is there with the OpenOffice.org address. (The Address Box is the wide, flat box that contains an address that starts with http://.) (To replace the address, click inside the address box and type www.openoffice.org. Press Enter.

Alternatively, just click here.
When the OpenOffice.org page appears, click on the words I want to download OpenOffice.org. Click on the green box with the words Download Now!
When the Opening OOo_2.4.1_Win32Intel_install_wJR... window appears on your screen. click Save File. Make a note of where on your computer the installation file is going to be downloaded to. Normally, this is placed on your desktop, but it could be any folder on your computer, so please make a note. You will see that the installation file is being downloaded onto your computer, which will take some time to complete, because it is quite a large file.
When the download has completed, close or minimize all windows so that you can see your desktop. For the purposes of this tutorial we will assume that the installation file has been downloaded onto your desktop.
IMPORTANT:
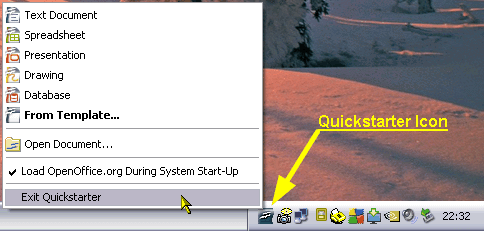
If you have an earlier version of OpenOffice.org already installed on your computer, please make sure that the "Quickstarter" icon in the "Taskbar System Tray" is closed before starting the installation. Otherwise, you will have problems installing the new version. To close the "Quickstarter", Right-click on the icon and select Exit Quickstarter from the pop-up menu. The menu and the icon will then disappear.
On your desktop there will be the downloaded file that has the OpenOffice logo with the words OOo_2... written under the logo. [Note 2]

Right-click on the OpenOffice logo, then click Open in the pop-up menu that appears.
The first "Welcome" window of the Installation wizard will appear. Click Next.
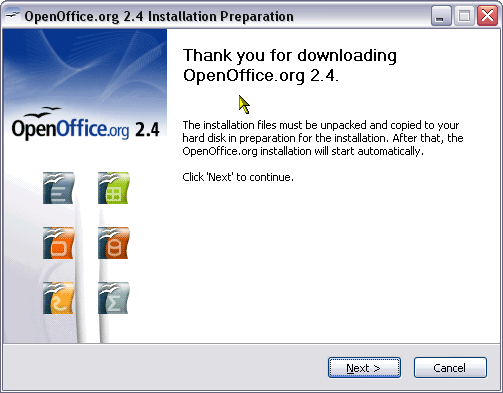
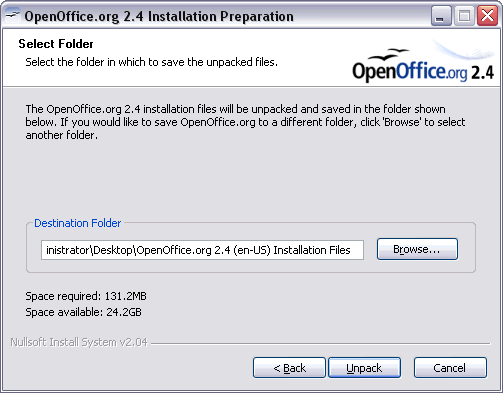
The next window gives the option to change where to the installation files are put when they have been unpacked. Click Unpack. We strongly recommend that you do NOT change this, unless there is a very good reason to do so. [Note 1]
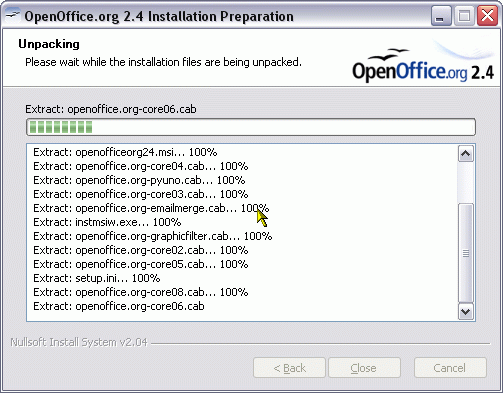
The window will change to show the progress of the unpacking process.
The Installation Wizard window will now appear. Click Next.

Click I accept the terms in the license agreement. Click Next. [Note 4]
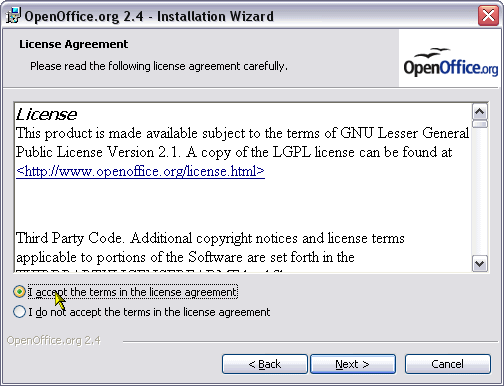
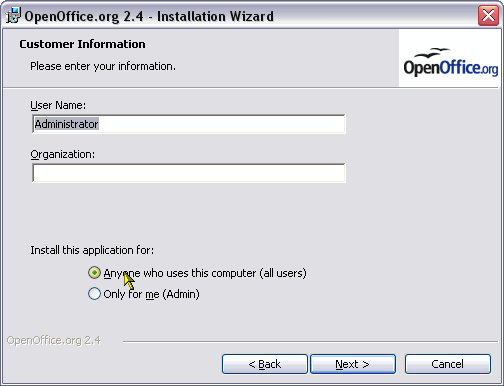
Enter a user name. This is optional, but normally your Windows user log-in name. Make a choice under "Install this application for:". You must be logged into your computer as user with "Administrator" privileges to install for (all users). Click Next.
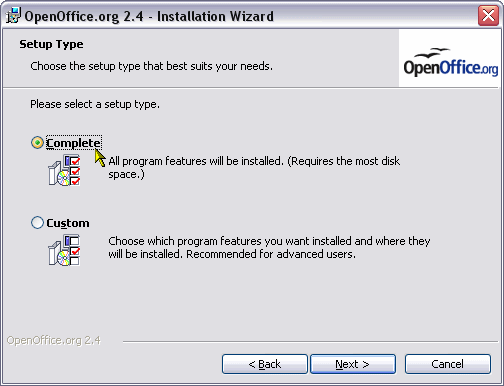
Click Complete and then click Next.
Here you are able to choose if you want these Microsoft file types to be opened automatically in OpenOffice.org. If you already have Microsoft Office installed on your computer, we recommend that you just click Next.
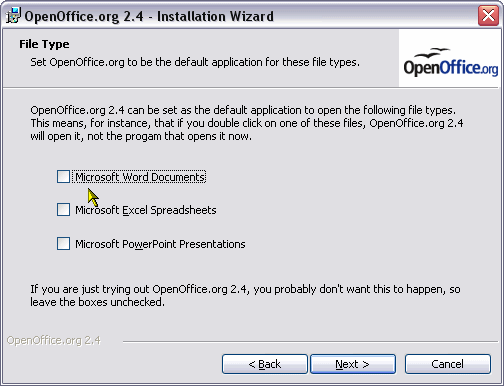
If a ![]() tick-mark IS NOT placed in the boxes and you already have Microsoft Office installed on you computer, then Microsoft Office will automatically be used to open these Microsoft Office file types. You will still be able to open these file types by starting one of the OpenOffice.org programs (eg. Writer) and use the "File -> Open" menu option.
tick-mark IS NOT placed in the boxes and you already have Microsoft Office installed on you computer, then Microsoft Office will automatically be used to open these Microsoft Office file types. You will still be able to open these file types by starting one of the OpenOffice.org programs (eg. Writer) and use the "File -> Open" menu option.
If a ![]() tick-mark IS placed in the boxes, these Microsoft Office file types will be automatically opened in the appropriate OpenOffice.org program. (eg. double clicking on a desktop Microsoft Word file will open it in OpenOffice.org Writer)
tick-mark IS placed in the boxes, these Microsoft Office file types will be automatically opened in the appropriate OpenOffice.org program. (eg. double clicking on a desktop Microsoft Word file will open it in OpenOffice.org Writer)
If you are not aware of this, you can mistakenly assume that OpenOffice has "taken over" the Microsoft files on your computer. Even though the icons for those files will display the OpenOffice.org icons, the files themselves will not have changed. If you do make a mistake at this point, DO NOT panic, it can be corrected later.
More information about this is available in our tutorial "Working with Microsoft Word files".
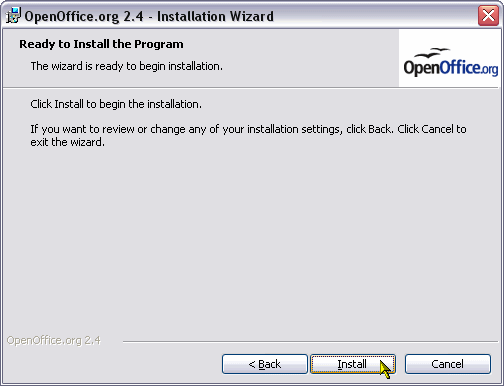
The installation process is now ready to start. Click Install.
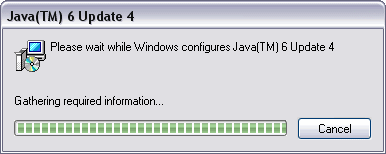
If you have downloaded the installer package which includes the JRE (Java Runtime Environment) component, the following window will be displayed. Do not click Cancel the window will close automatically. Some parts of the OpenOffice.org package rely on Java to function correctly. You may find or know that you already have a newer Java update than the one being installed here. It is better to uninstall the older update later, using the Windows Control Panel option, rather than interrupt the install process.
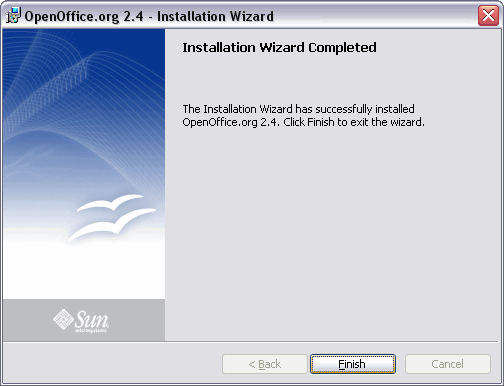
Wait for the message "Installation Wizard Completed" and then click Finish.
If you see another window displaying an "Error" message, please write down the exact text of that message, so that you have the full information available when you ask for help.
Otherwise OpenOffice.org has been successfully installed on your computer and you are ready to start using it.
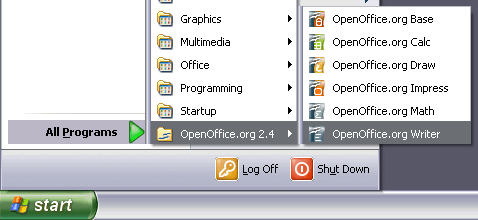
The installer program does NOT create any desktop shortcut icons. You will find the OpenOffice.org program shortcuts in the Windows Start -> All Programs menu:
See [Note 3] for creating your own desktop icons.
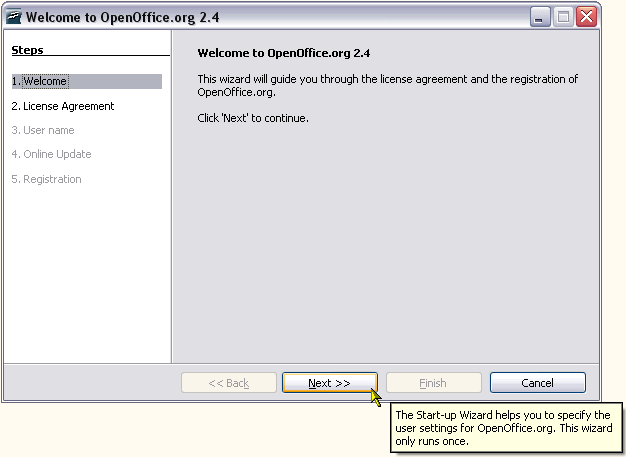
The first time you start any one of the programs (eg. Writer - Text Processor) the "First Run Welcome" wizard will take you through five short setup steps. Don't be tempted to click "Cancel", because this stage is where your "User" configuration is created for your future use of OpenOffice.org. Click Next.
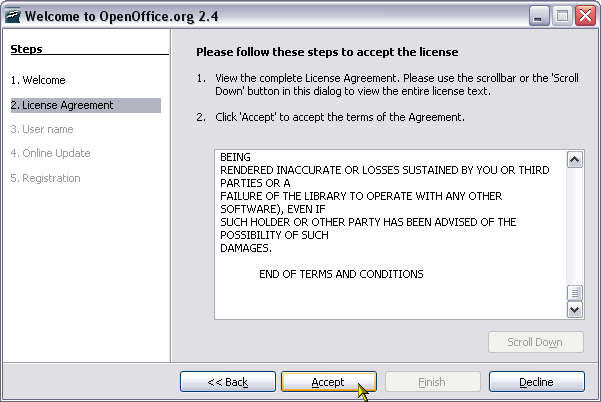
Here you are required to accept the license. To make the Accept button clickable, scroll down to the end of the license text and click Accept. [Note 4]
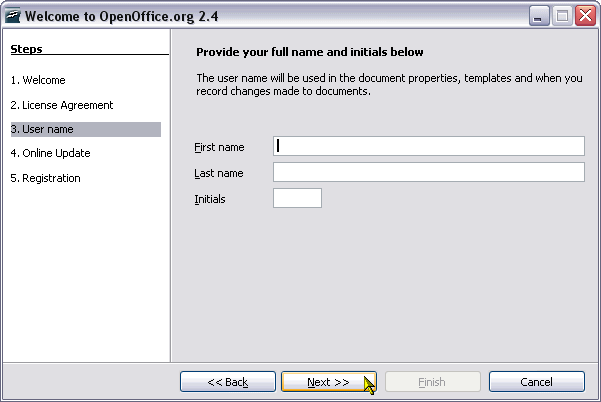
Here you have the option enter your name. Click Next.
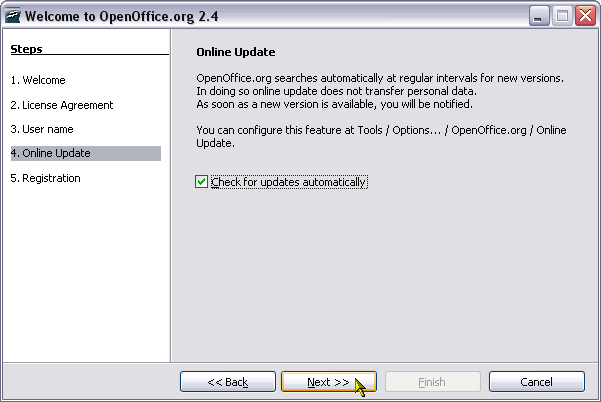
Click and untick the box in this window, if you do not wish to be notified of new versions of OpenOffice.org. Click Next.
Here you have four registration choices. We recommend you tick "I want to register later" [Note 5]
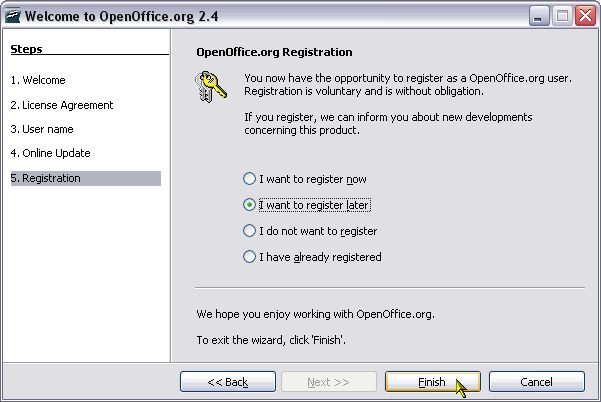
Now click Finish and the program window will open.
[1] When the installation is complete, you can safely delete the installation folder from your desktop. Return to step 8

[2] We recommend that you store the file you downloaded for future use, or pass on a copy to friends, family members or work colleges. Return to step 6

[3] One method you can use to create your own desktop shortcut icons is, to click and hold down your right mouse button on any one the program shortcuts shown in your "Start" menu, then drag the mouse pointer to a convenient blank area on your desktop. When you release the mouse button a small pop-up menu will appear, from which you click the option to "Copy here". Return to step 19.
[4] Most of the license only relates to someone who intends to change the internal code of the software. There is very little in the license terms which is of any importance or relevance the person who just wants to use the software.
[5] Registration is totally optional and serves only to provide the OpenOffice.org project with a rough indication about the number of people using the software. If you do choose to register, you will be directed to a small survey questionnaire on the OpenOffice.org website. Unlike commercial software, you will NOT be given any "License Key" or "Password" to use the OpenOffice.org software, because none are required.